

PDQ Inventory comes jam-packed with an excessive amount of features right out of the box. Built-in tools, scanners, collections, and reports are all ready to go from the first time you launch Inventory. Once you import and scan your computers, you'll be pretty amazed at the sheer amount of data that Inventory returns.
That being said, we know that we can't pre-build every option that every user will ever need into Inventory. Every network environment and every organization is unique, with unique hardware, software, policies, and procedures. That's why we give users all the utilities they need to customize PDQ Inventory to fit the needs of their environment.
One way we allow users to customize PDQ Inventory is by giving them the ability to add and import their own custom data. With custom fields, users can use Inventory as a central repository to track any information they need and tie it to the workstations they manage.
The Data PDQ Inventory Tracks By Default
Before we dive into adding your own custom data, let's take a look at some of the data PDQ Inventory tracks by default. Start by clicking on All Computers and double-clicking on any computer in Inventory that has already been scanned.

This will open up the computer details window.

On the left side of the computer details window, you'll find a list of pages. These pages each contain unique information about the computer you've selected.
The right side of the screen shows the information of the page you currently have selected. In the image above, I have the Computer page selected, which provides various information about this specific computer, such as the name, current user, OS information, Active Directory information, and general hardware information about the computer, such as the manufacturer and model.
If you're new to PDQ Inventory, I highly encourage you to explore each of these pages because you'll find an impressive amount of useful information that PDQ Inventory collects by default.
Keep in mind that some pages are not automatically populated by PDQ Inventory. The Custom Fields page (more on this page in a moment) and the Product Keys page are there to allow users to add or import their own custom data. The Files & Directories page, the PowerShell page, the Registry page, and the WMI page are reserved for custom, user-built scanners. When a user creates a PowerShell scanner and scans a computer with it, the data will be collected on the PowerShell page.
Custom Fields
Before we can begin importing custom data into PDQ Inventory, we first need to create some custom fields. Custom fields can be created manually or by importing a CSV file. Let's take a look at each method.
Manually Creating Custom Fields
If you only have a few custom fields you need to create, manually creating them is the quickest and easiest way to do it. Here's how to manually create a custom field in PDQ Inventory.
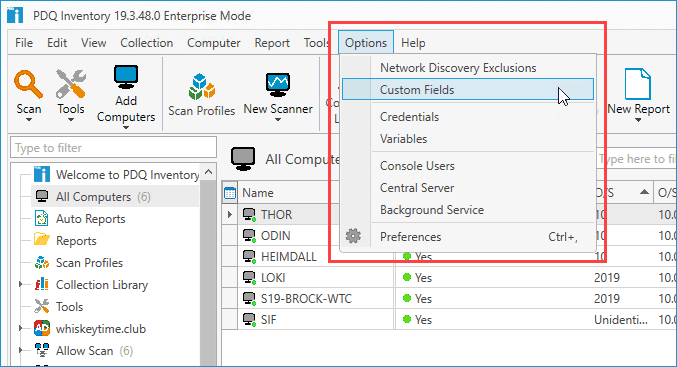
With PDQ Inventory open, click Options > Custom Fields; this will open the Custom Fields window.
In the Custom Fields Window, click New Field, followed by the type of field you want to create.

Name the custom field. Optionally, you can provide a description for the custom field.
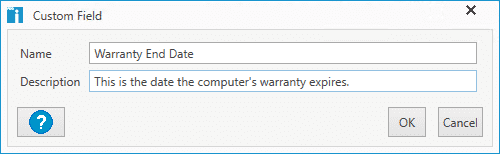
Click OK.


Now that you've created a custom field, we can go to the Custom Field page of one of our computers to find it and populate it with information.

To edit the value of this custom field, simply click on the Value field and enter the relevant information. Since I created this custom field as a date value, I'll be given a drop-down button that will display a calendar for me to select the relevant date.


This custom data will now be saved and associated with this computer. You can further use this information to build collections and reports in PDQ Inventory.
Importing Custom Fields
If you have a substantial amount of custom fields you need to add to PDQ Inventory, then you'll want to use the Custom Fields Import Wizard. The import wizard uses CSV files to create custom fields in bulk.
To use the import wizard, you'll first need to make sure you have a CSV file prepared with the data you want to import. When importing a CSV file, you can import just the custom fields, or you can import the custom fields and all their specific values. If you only import the custom fields, you'll need to add values to the custom fields manually.
Here's is an example CSV file that I can use to import just the custom fields.

Here's how to import a CSV file with just custom fields.
Click Options > Custom Fields.
Click Import Wizard.
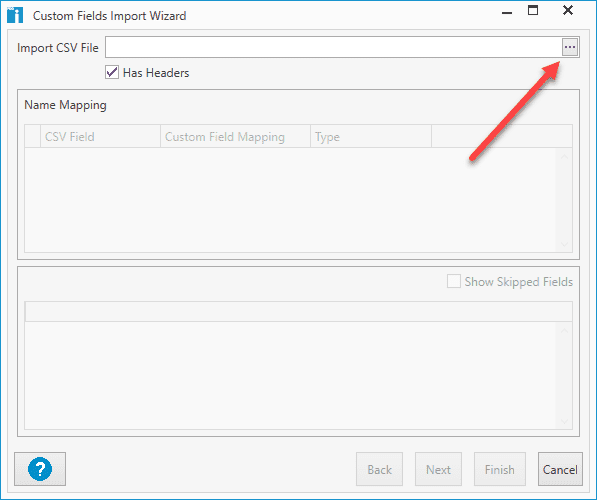
Enter the path to the CSV file, or click the Elipses (...) button to browse out to the CSV file.
Once you've selected the CSV file, the import wizard will allow you to configure the fields.

Since we are just importing new fields, we can click the drop-down arrow in the Custom Field Mapping column and change each field to (new custom field).
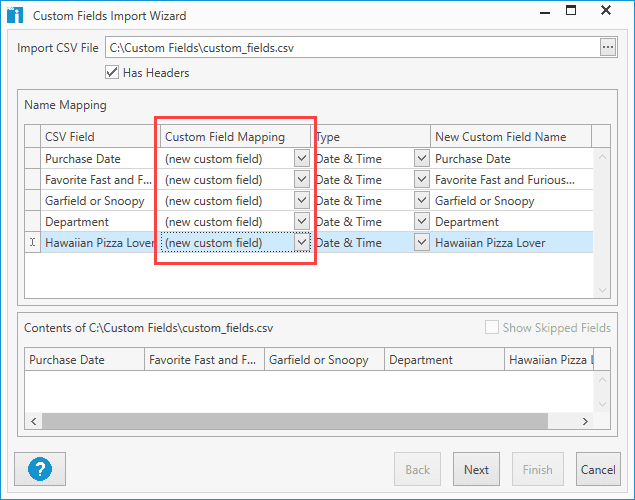
Next, use the drop-down menu in the Type column to configure the value types you want for each custom field.
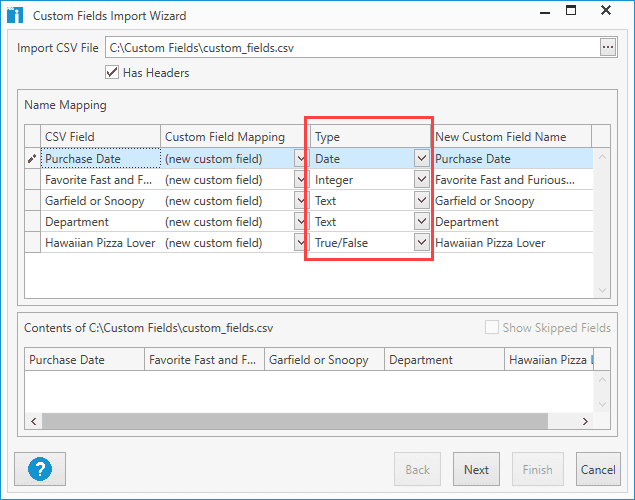
When you finish configuring the value types, click Next.
Click Finish.


Now that the fields from the CSV file have been added, open a computer's details window and click on the Custom Fields page to view the new custom fields.

From here, you can change the values for each of the given fields. However, if that sounds like too much hassle, then you'll want to import a CSV file with the custom fields and values already configured. Here's an example of that same CSV file as before, but I've added a computer field that will be used for mapping, and I've filled in the values.

We'll import this CSV file using the same method as the previous example. Note that I deleted all the custom fields from the previous example, though this isn't necessary. You can keep all the fields you already have and just map them or skip them during the import process.
Here is what my import looks like with the modified CSV file.

In this example, you can see that the top row Computer is being mapped to the Computer Name in PDQ Inventory.
Before you finish the import, ensure your value types are correct and preview the results at the bottom of the import window. When you are ready, click Next and Finish.
As before, we can open the details window of a computer and click on the Custom Fields page to view the results. Here are the results from a couple of the computers in my environment.


Wrapping Up
Custom fields are a great way to customize PDQ Inventory to fit the needs of your environment. If you want to learn about other cool uses for custom fields, I know some pretty cool guys who wrote an articles on how to import AD attributes to Custom Fields in PDQ Inventory and How to important custom fields with SQL . If video is more your thing, Lex can guide you through with his video on How to Use Custom Fields in PDQ Inventory.
If you've made it this far and don't even have PDQ Inventory, bravo to you. But what are you waiting for? You can download a free 14-day trial of PDQ Inventory right now. Learn for yourself why users love PDQ Inventory and PDQ Deploy.

Managing a remote or hybrid fleet?
PDQ Connect brings the best of Deploy & Inventory to the cloud with an agent-based approach so that you can manage hard-to-reach devices from anywhere. It also adds remote desktop, vulnerability management, macOS support, and more — all in a single pane of glass.


