Have you ever wanted a detailed history of the changes you’ve made to PDQ Deploy and Inventory? You can accomplish this with the built in Export feature and your own git repository. The Export feature creates XML files which are fairly readable and work very well with git. If you follow my workflow of exporting and committing after every change you get some handy benefits:
Quickly find when a change was made
See exactly what changed
Keep notes on why you made a change
Create a sort of undo button by importing a snippet of XML
Setting up Gitlab and preparing your workstation
1. Install and configure Gitlab
a. Create a virtual machine with at least 2GB RAM, 20GB HDD, and 1 CPU core. You can use your favorite Linux distro, but I chose Ubuntu 16.04 for this demo. I followed to install Gitlab.
sudo apt-get install curl openssh-server ca-certificates postfix
curl -sS https://packages.gitlab.com/install/repositories/gitlab/gitlab-ce/script.deb.sh | sudo bash
sudo apt-get install gitlab-ce
c. You should now be able to log into your Gitlab webpage and change the root password.
d. Create a user account for yourself. It’s never a good idea to run as root.


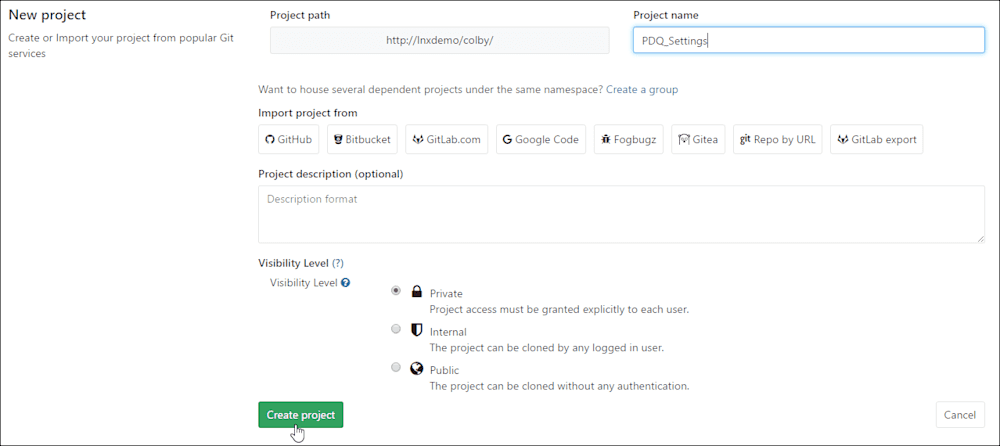
2. Create a repository
3. Install Git on your workstation
4. Clone the repository to your workstation


5. Create the initial export. In PDQ Deploy, go to File > Preferences > Export All
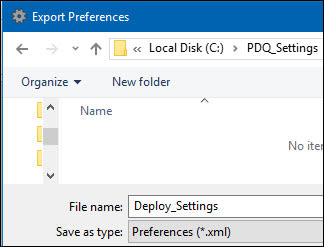
6. Commit the initial export with the comment “Initial commit”
git add .\Deploy_Settings.xml
git commit -m “Initial commit”

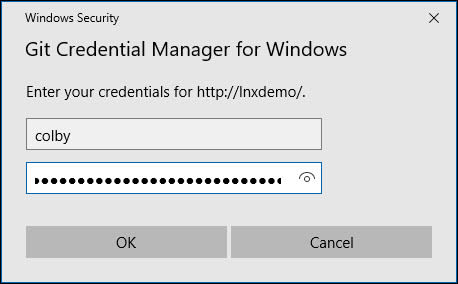
7. Push the initial commit to Gitlab
git push -u origin master
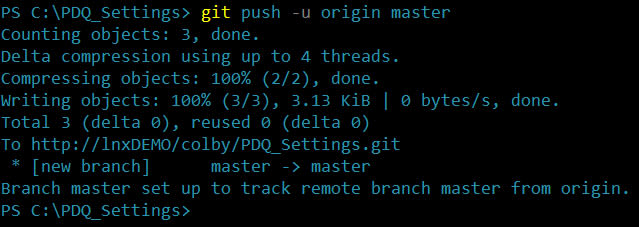
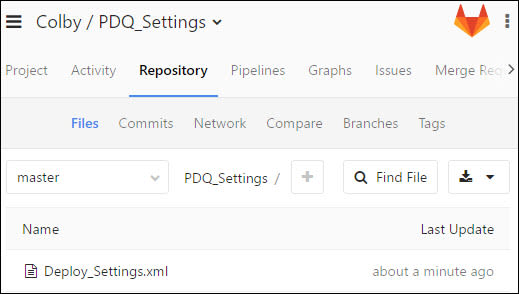
Workflow for managing changes to PDQ Deploy or Inventory
Perform an export after making any change. If you need to make multiple changes, do them one at a time and export after each change. This makes it much easier to look through and encourages detailed notes instead of “Huh, looks like I changed some stuff”.
1. Perform an export and save over the previous file
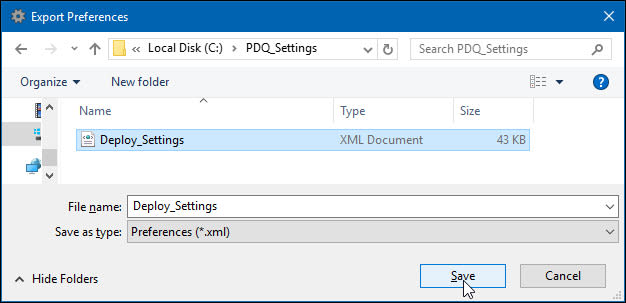
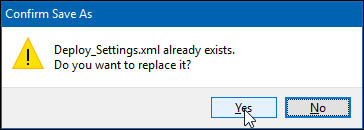
2. Commit all changed files:
git commit -a
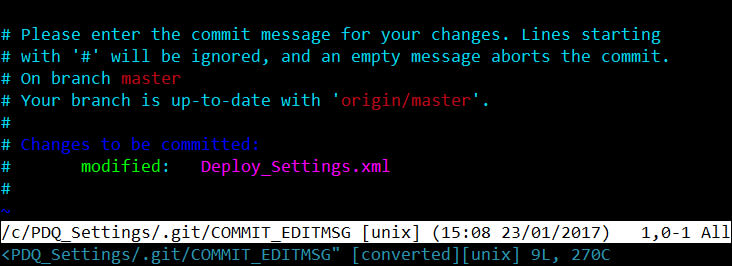
3. Press “i” to enter INSERT mode
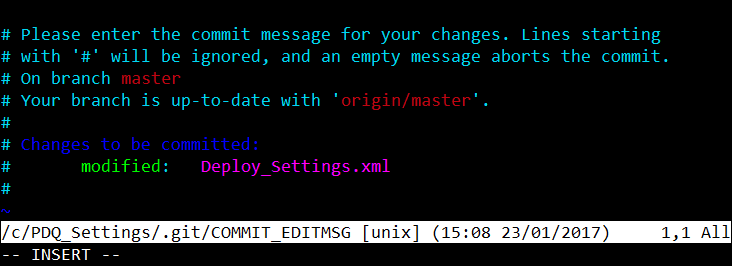
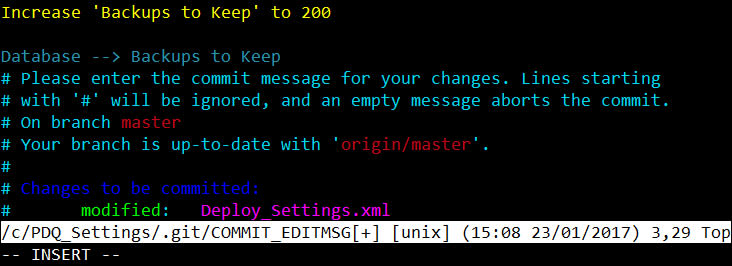
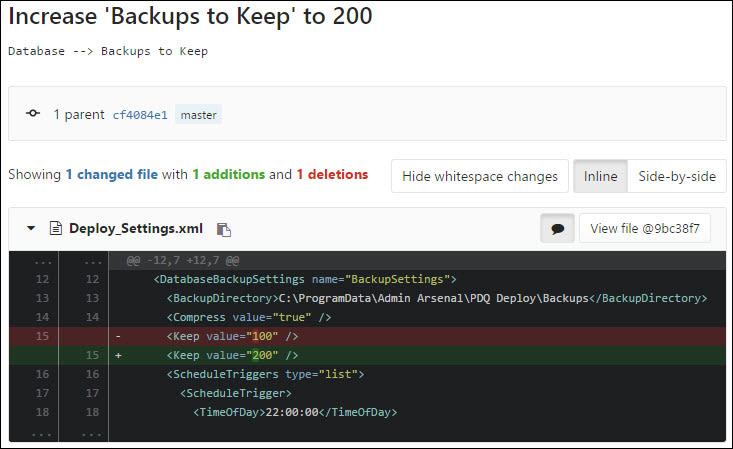
4. Write a comment such as “Increase ‘Backups to Keep’ to 200”
I also like to make a note of the path to the item I have changed, such as “Database > Backups to Keep”. The first line is a brief note to summarize the commit; everything below that can be as detailed as you want. Make sure to put a blank line after the first line if you are going to write detailed notes.
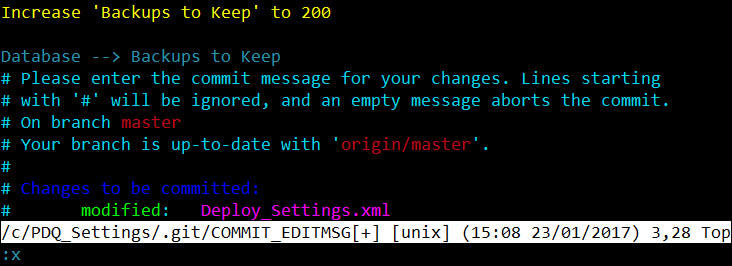
5. To save and close the comment hit the ESC key, type “:x”, and hit ENTER.
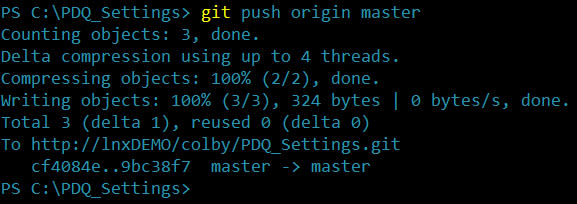
6. Synchronize with Gitlab:
git push origin master
(If you make multiple changes you can wait to do this step until you’re done.)
Undo button
1. Find the snippet of code you want to restore
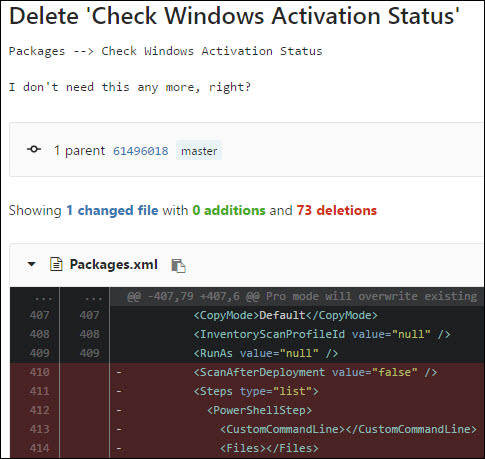
2. Copy and paste it into a text editor
In this example I had to rearrange it a little bit due to how the diff was formatted. For packages you want everything between <Package> and </Package>.
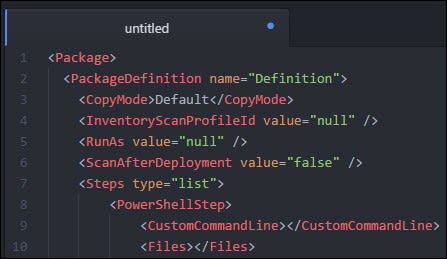
3. Save it as an XML file
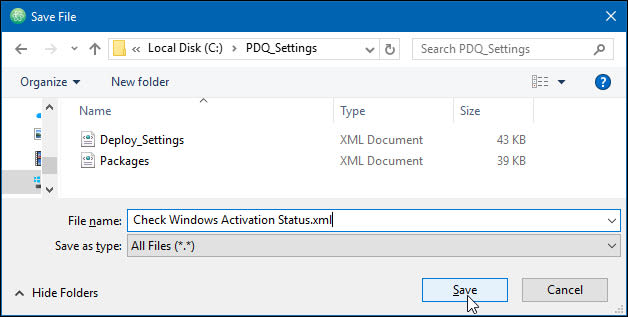
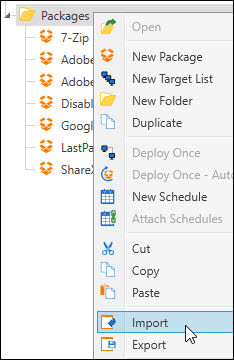
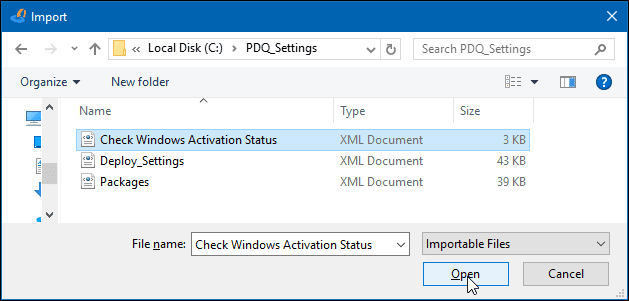
4. Import it
And now that you know how to manage changes to Deploy with Git, you can take that next step by seeing what you can do with Git and PowerShell scanners.

